Last year I started to source some old furniture to help me create a sewing room. I had a spare bedroom that was under used, and a sewing machine needing a permanent location. I started to look around antique and second hand charity shops, in search of furniture I could Upcycle. I was soon attracted to a dark wood and solemn looking unit, I think I paid £20 for it.
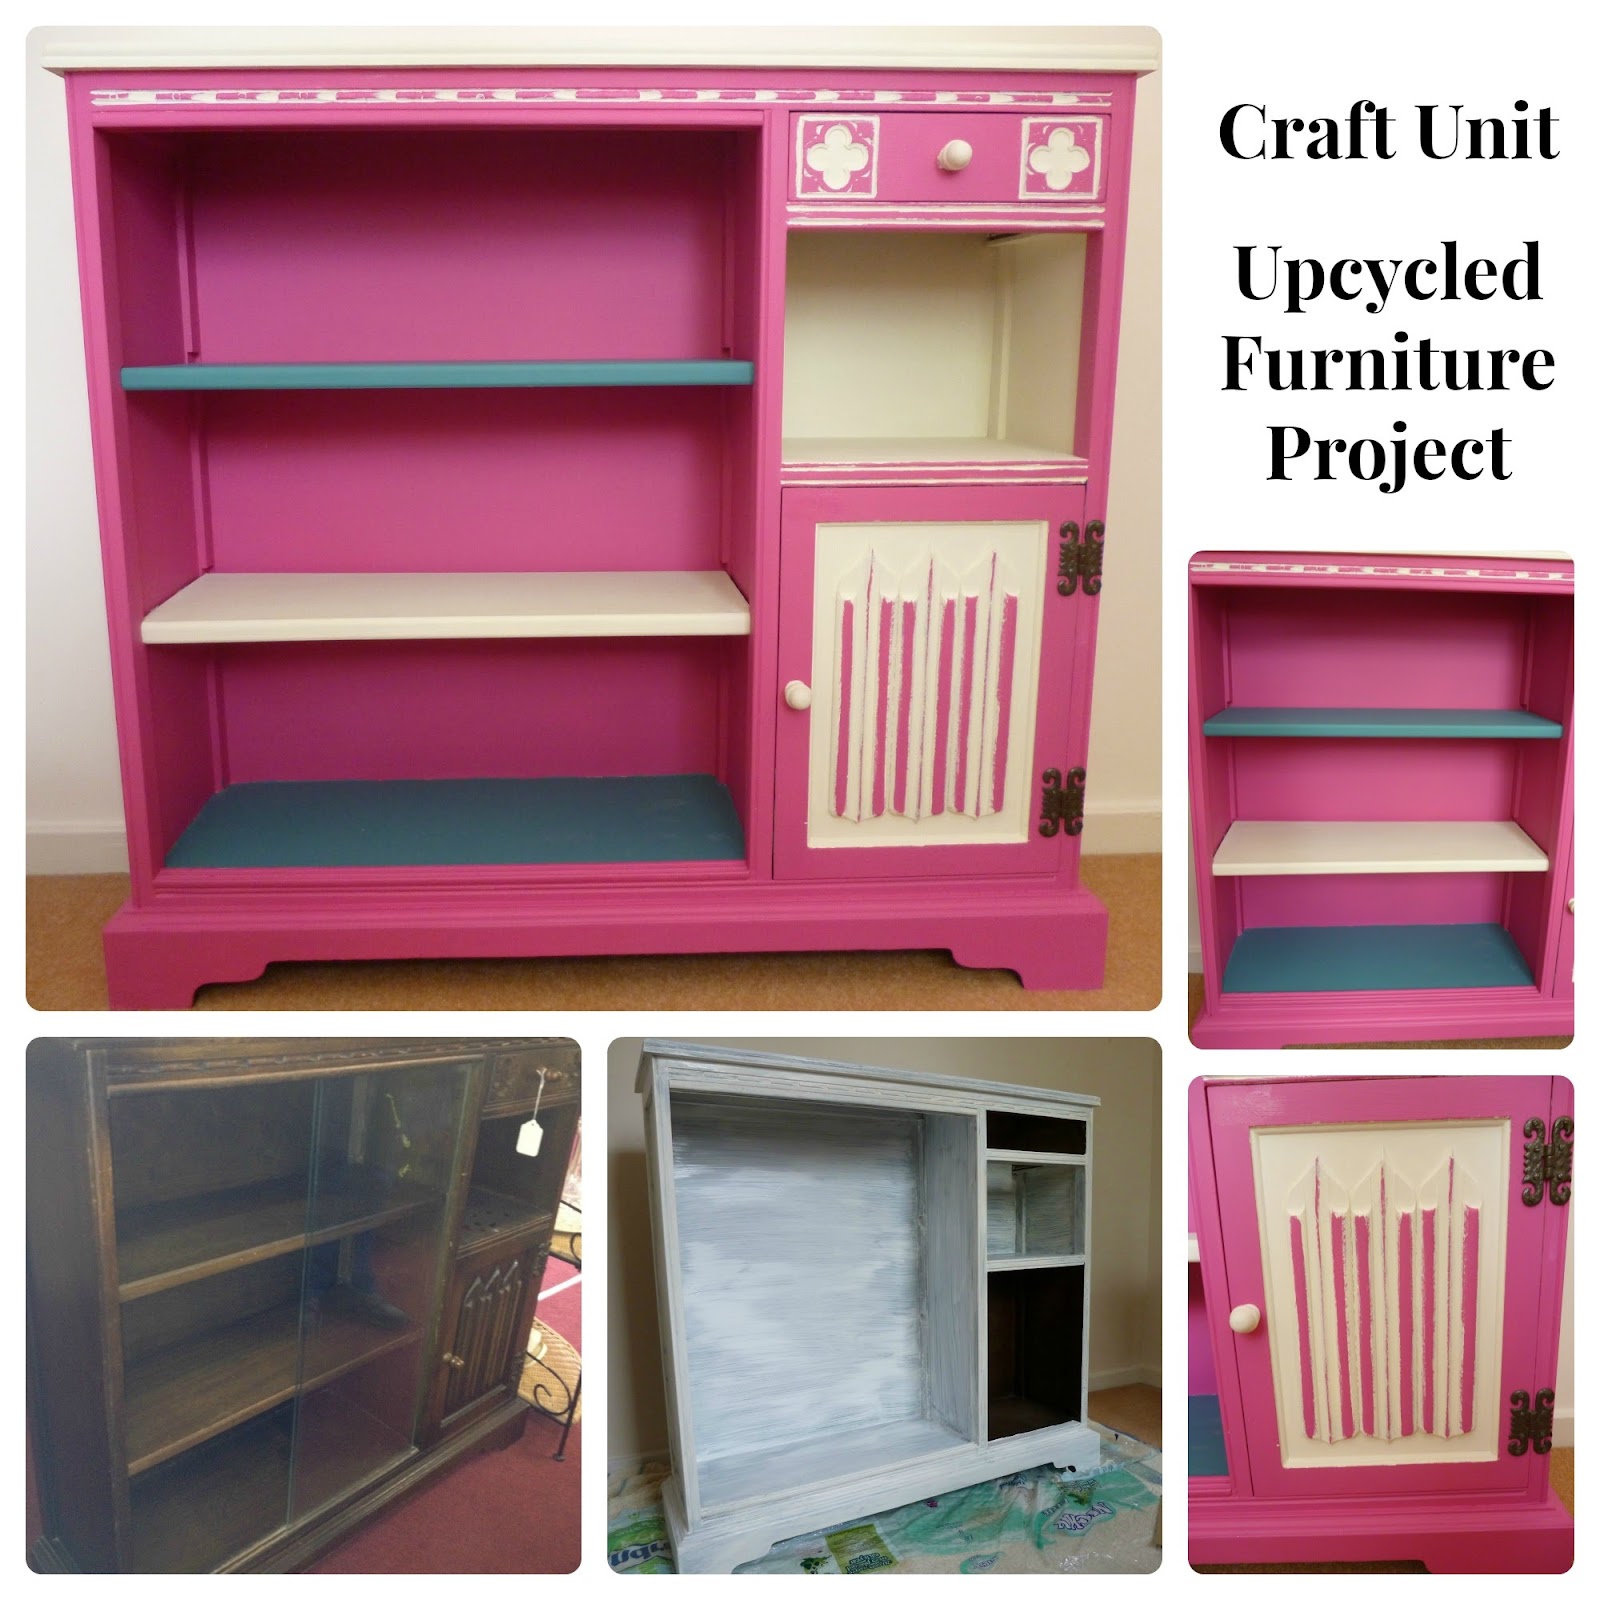
I could see it had lots of potential, a lot of sanding and some painting would give it a new lease of life. I removed the sliding glass panels, my plan is to put jars on the shelves containing with my sewing/crafting accessories.
Stage One – Sanding
This was a lot of hard work made easier with a fabulous electric sanding gadget borrowed from my dad.
Stage Two – Applying Primer
Even when sanded back the wood was still very dark, and it is important to give the final paint colour a good surface to adhere to. Therefore it is important not to miss this step out, applying the primer with a paint brush gives the surfaces a good key for the final paint colour.


Stage Three – Final Paint Colour
I went bold with colour choice, having been inspired by the pink and teal colours in a set of storage boxes purchased for the new sewing room. I know it will not be to every ones taste, but I did not want muted or safe colours for this room. I want to feel awake and enthused when I am sewing.


 |
| Inspired by a storage box |
